Wednesday, 26 March 2014

In The Studio - with Rustic Revivals

This time up, our "in the studio" feature is brought to you by our guest blogger, Julie of Rustic Revivals (she's also on Etsy over here by the etsy shop of the same name).

Step One: for thinner pieces of weathered wood, look for old fence lines to tear down, or someone's old deck.  The most 'coveted' signs are the naturally 'ripped' ones at both ends, to emulate the 'faux ripped'/jagged edge signs one often sees.


Step Two:  For painting, you will want to find pieces that haven't split TOO much.  While knots and cracks make for delightful character in beams, walls and other larger signs, you'll want to find a weathered piece whose surface is still 'tight'.  (Worm holes are excellent though).


Step Three:  I try to always paint my signs from the middle OUT, to balance where letters will go. The characters and arrows should be painted (or wood-burned, or twig glued) on first, then letters added around them.  For various methods and fonts, see here.


Step Four:  for consistency of shadowing to add a more 3-D 'pop' to letters, choose which side and direction your light source would be in and keep this in mind at all times when you add in the black or darker colour behind the letters.


Step Five: for extras like dots or half-moons, simply turn the paint brush upside down.  Wipe off excess paint after every second dab.


Step Six:  I often use jute rope or rusty chain and small u-shaped fence staples to attach a hanger, but this custom order requested eco-friendly furled paper 'raffia' bows in the blue tones.  It can be time-consuming to unfurl the paper, so sometimes I leave it 'roped' and just unfurl what is needed for the actual bows!

Step Seven:  The finished product is ready for hanging.  Sometimes I prefer to tie the bow off to the side (see last photo) rather than dead centre, as it's easier to hang and looks less contrived.  If the sign is meant to hang over a finished wall, I will sometimes cut and glue old grey felt to the back to avoid any potential scratching on walls.


Step Eight:  If you head off to the Rabbit Hole, don't forget to find your way back!


Thursday, 20 March 2014

Happy Spring!

Happy Vernal Equinox to all!


Although most members of the Collective are still buried in snow, we can still dream of the nice weather to come.  Take heart, my friends.  The spring weather will get here eventually and bring with it all the lovely things we have missed so desperately this winter.

PS: the picture above is from last year and the inspiration for this piece:
which will be coming with me to the Carlisle Country Craft and Old-Fashioned Market Mercantile for those who want to see it in person.

Sunday, 16 March 2014

Stones of Time -in the Community

Christine Aiken of Stones Of Time is featured this month at St James Anglican Church (138 Melville Street, Dundas, Ontario)
 The show is running for the whole month of March, every day.  
 You can also see her work at the Rural Creators' Collective
 (address and store hours on the side bar).
 To see the show, contact Christine at seefossilart@hotmail.com  or call 905-526-0523  or
 905-512-8461.  
She can speak to your or your group about the process, about her work, or just leave you to enjoy the display on your own.

 Christine will also be at the Carlisle Country Craft and Old-Fashioned Market Mercantile in August.  It promises to be a wonderful show!


Friday, 7 March 2014

March Feature: Metis Caravan

This month's feature artist at the Rural Creators' Collective is Roni walker of Metis Caravan.  She has been working hard to set up the display.

 To set the mood, she has set up a small teepee on the landing:

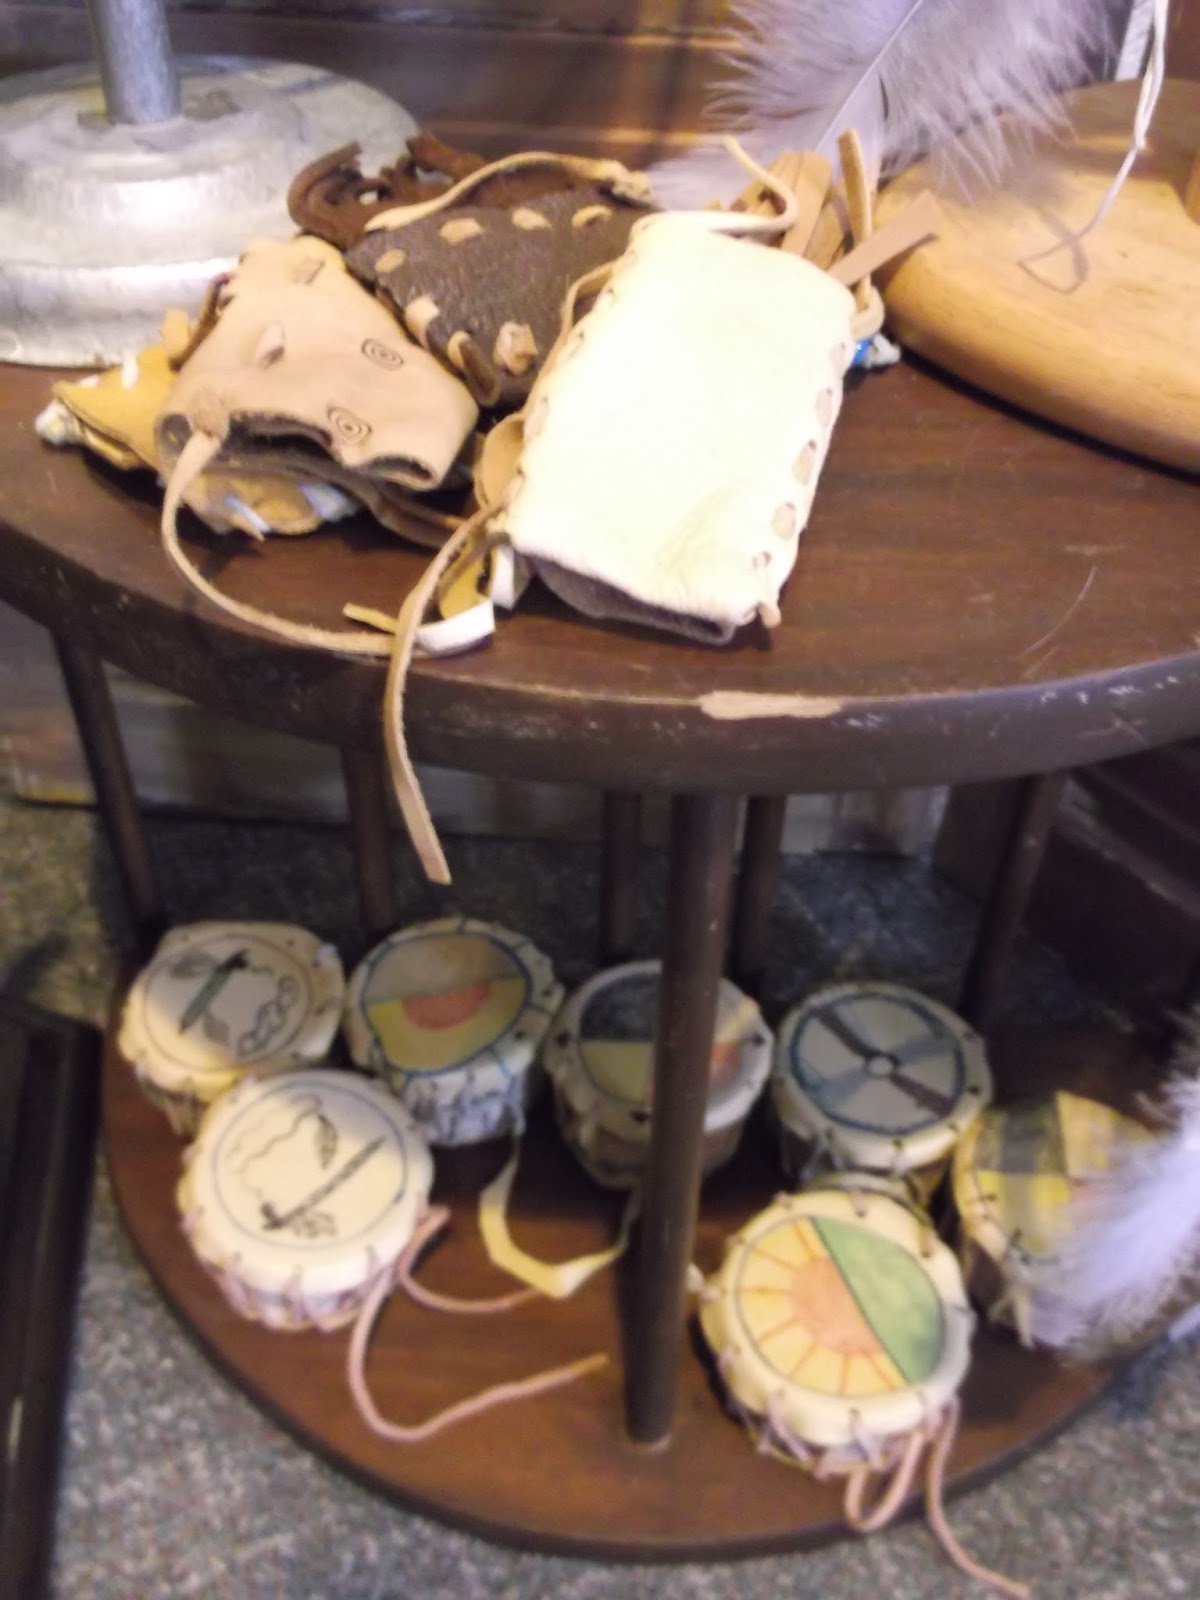
Roni has a large selection of items to choose from in the store this month.  From leather pouches and drums,
 dream catchers and earrings,
 necklaces,
 (lots of necklaces, all unique and handmaid),
 to leather items.
And all month, she is offering 10% off any of her items.  Now is the time to stop in and pick out that special item for yourself or as a gift.

Roni chose to write her own feature this month.  This is what she has to share:
"In our Native way...Ojibwa, Seneca, Cree, we welcome the new seasons with a ceremony which includes kindness to one another in the community. We share with each other a pot-latch dinner and a giveaway blanket. In each case everyone from the community brings what they can and everyone goes away full. The giveaway means each person brings a gift (something they've made or something they've used, don't need any more but may benefit someone else. All the gifts are laid on the blanket then in turn each person takes something from the blanket.
In our co-operative store, " Rural Creators' Collective " We try to show cultures in a simpler time, Cornish, Celtic, Aboriginal and others by sharing the traditions, teaching the crafts and selling our own works - antiques, reproductions, recycles, etc.
In March my Native Crafts will be the featured art of the month at the store and I will be sharing the ceremonies to welcome Spring. Since a store setting doesn't allow for a giveaway and feast for the community I will be showing the giveaway by giving out AOK cards to those who visit MetisCaravan at the store all month. This way they will experience the gift of the card and the giveaway of the kindness act (should they choose to participate) and the sense of  Community if they then give the card to someone else.
I'm so excited."


Friday, 21 February 2014

From the Studio - the making of a mug

Today's studio series is brought to you by Natalie of Remembrances.

 Sometimes it seams like mugs are the bread and butter of a potter's earnings, so I thought I would share the process with you.

Please excuse the lighting.  Most of the time I work in my basement as pottery making is such a messy affair.
One of the most important steps is to wedge your clay, which basically consists of whapping the lump of clay over and over again on an absorbent surface.  This removes air bubbles and aligns all the clay particles.

If you happen to have a slab roller, you can roll out your clay to a nice even thickness with it.  
I use a rolling pin.

Smooth out the surface with a metal rib (this prevents cracking later on as it also aligns the clay particles).
Cut the slab to the size you want, depending on the vessel you are making.


Score the edges, and apply water or joining slip (depending on how wet/dry your clay is).

Wrap the clay around your tube.  Make sure to wrap your tube in newspaper first or you will never get it off.
Gently press the seam down.

Wedge another small ball of clay for the base.

 Roll it out and cut out a circle just slightly larger than your tube.

Score the clay at the bottom of your tube, and around the edge of your base...

 ...apply water or joining slip, and gently attach them together.

 Use a metal rib to smooth out the seam (at the bottom and down the side)...


...and wipe it down with a damp sponge.

 Roll out a coil of clay, and wrap it up overnight to set up a little bit.

 Cover the tube with plastic and let it set up overnight.
(you can probably tell - these are going to be beer steins, not mugs, but the process is the same).

 Remove the newspaper from the center of the tube and clean up the inside.  If you want to belly out your pot (on the right) or add texture, now is the time to do it.
Make your handle from the coil - flatten it, roll it, pull it, etc. and attach it to the mug (score and slip), smoothing out all the creases and marks.
Loosely wrap it in plastic to allow it to dry slowly.

Load it into the bisque kiln for the first firing.

 After bisque firing, you can still sand it down a little bit if you have left fingerprints, scratches, etc.

Wax the bottom of the mug.
Glaze as desired.
Fire it again.

Ta-da! Obviously, these are not the same mugs.  The beer steins are awaiting glazing and will be fired at a later date, but here are some finished mugs none-the less.

Remembrances is one of the confirmed artists for the
in August.  It's a great family event worth checking out.

Tuesday, 11 February 2014

One Block Wonder


 Miriam of Minimade (she can be found on Facebook and on Etsy if you can't make it into the store) has been making a line of beautiful quilted items for the home called One Block Wonders.  She is generously offering a behind the scenes look at how they are made.
She cuts 6 layers of identical fabric,

 aligns all 6 layers with pins,

 and cutsthe stacked layers into strips.

 Then she cuts each strip into equilateral triangles,

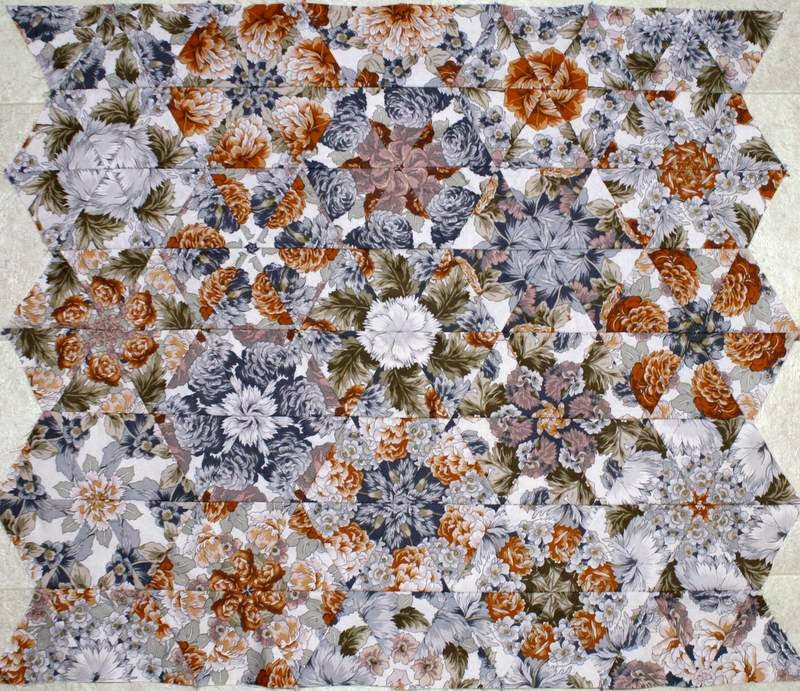
 positions each stack of 6 triangles to form a hexagon,

 sews half together and presses the seams open,

and pins the two halves together.

 Next she positions, and repositions the hexagons until she is happy with the design.

 Half hexagons are sewn together into rows,

and the rows are sewn together,

 until the piece is ready to trim the edges.

 She adds borders, 

 layers it with batting and backing,

 and machine quilts all the layers together.

 Binding is added to the outer edge, and...


Voila!  A beautiful finished piece.

 She makes table runners...
 wall hangings, and plenty of other pieces.
Go check out her work (on Facebook and on Etsy) 
and of course, at the Rural Creators' Collective in Carlisle to touch and feel them in person.

AND...
she will be at the Carlisle Country Craft and Old-Fashioned Mercantile 
show in August (23rd and 24th) in Mountsberg Ontario if you want to plan a trip.

                          Creative Friday at Natural Suburbia 
                          Fiber Arts Friday at Wisdom Begins in Wonder